Creating a Prod EC2 Instance
Initiating EC2 Instance
-
Open Amazon EC2 Console:
- Access the Amazon EC2 console at https://console.aws.amazon.com/ec2/.
-
Start the Launch Process:
- From the EC2 dashboard, find the Launch instance box and select Launch instance.

-
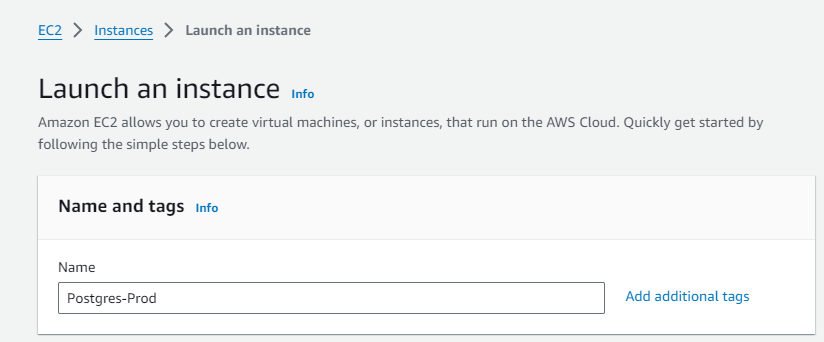
Specify Name and Tags:
- Under Name and tags, enter a descriptive name for your instance.
-
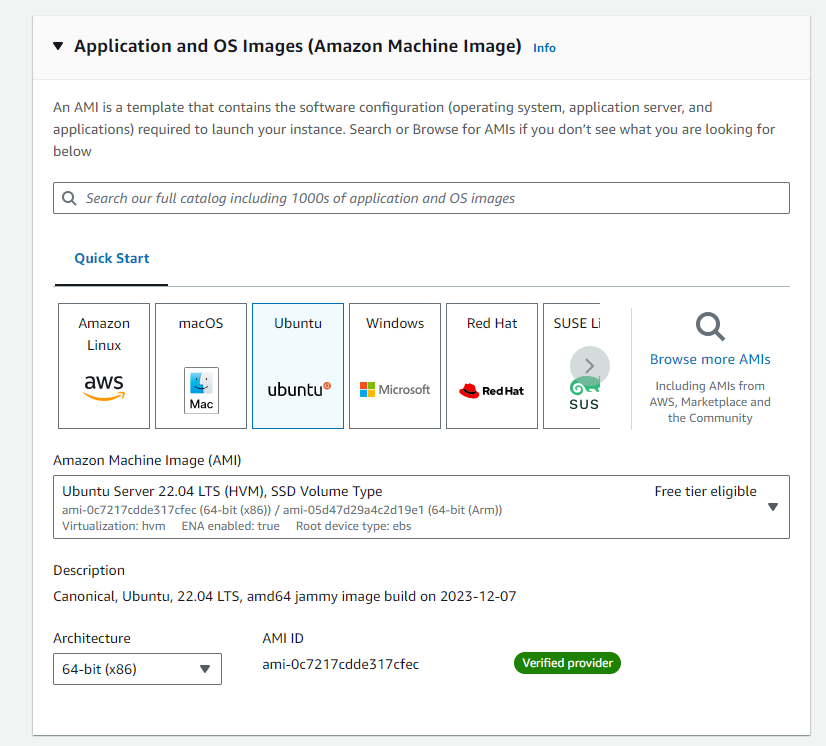
Choose Amazon Machine Image (AMI):
- Under Application and OS Images, go to Quick Start and select Ubuntu.
- From the AMI options: Ubuntu
-
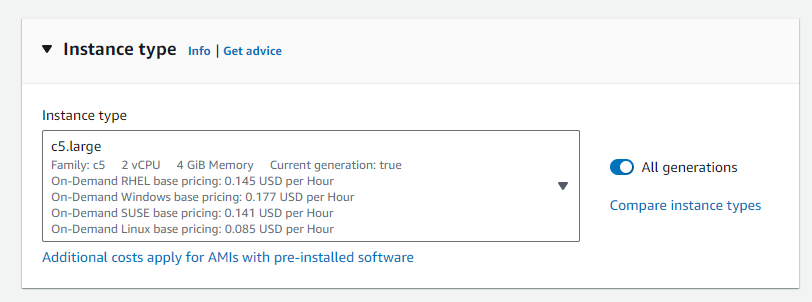
Select Instance Type:
- Under Instance type, choose c5.large for a more powerful configuration suitable for a production environment.
-
Configure Key Pair:
- In Key pair (login), select a key pair you have previously created.
- Warning: Avoid choosing Proceed without a key pair as this will prevent you from connecting to the instance.

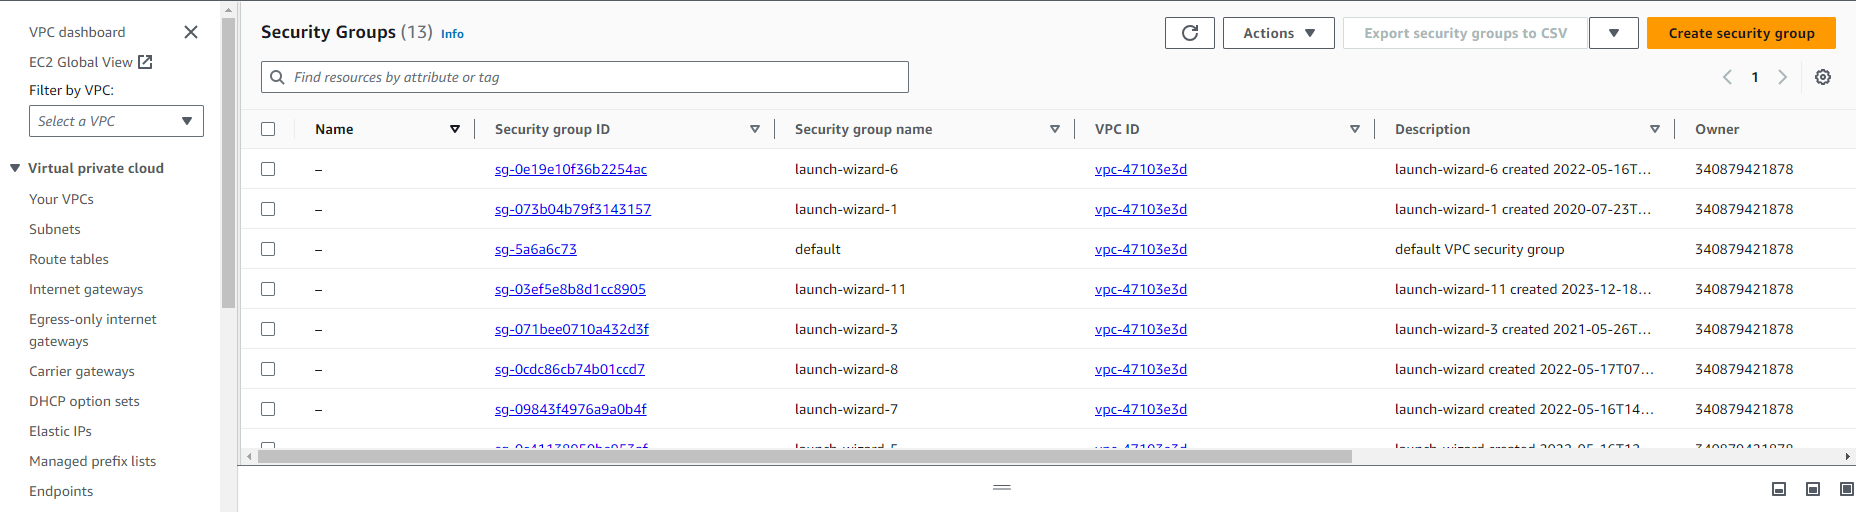
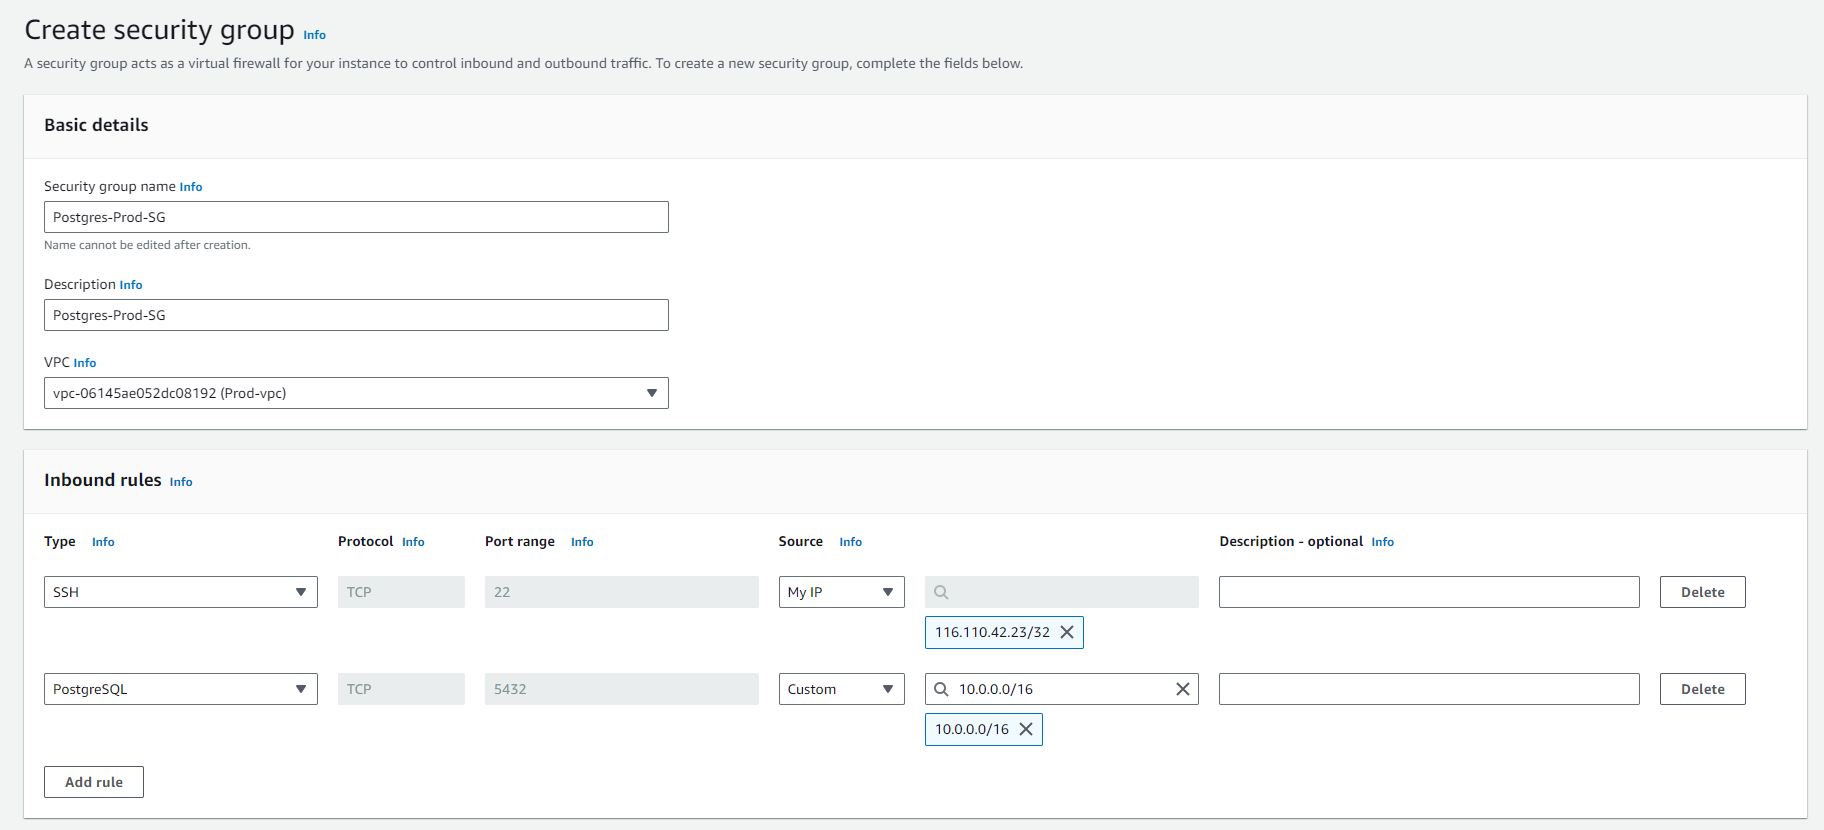
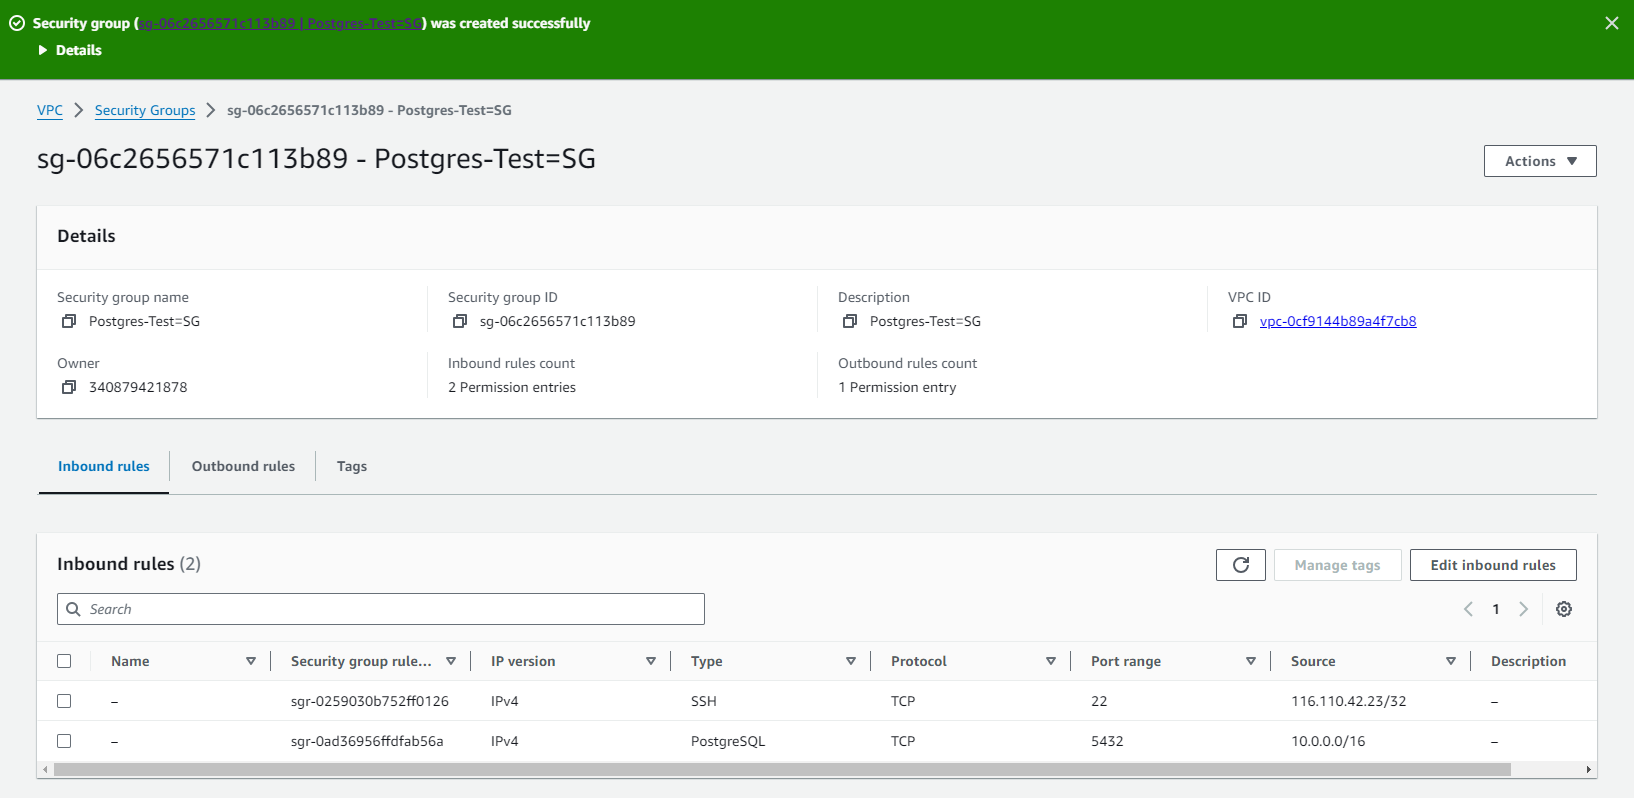
| Activity | Description |
|---|---|
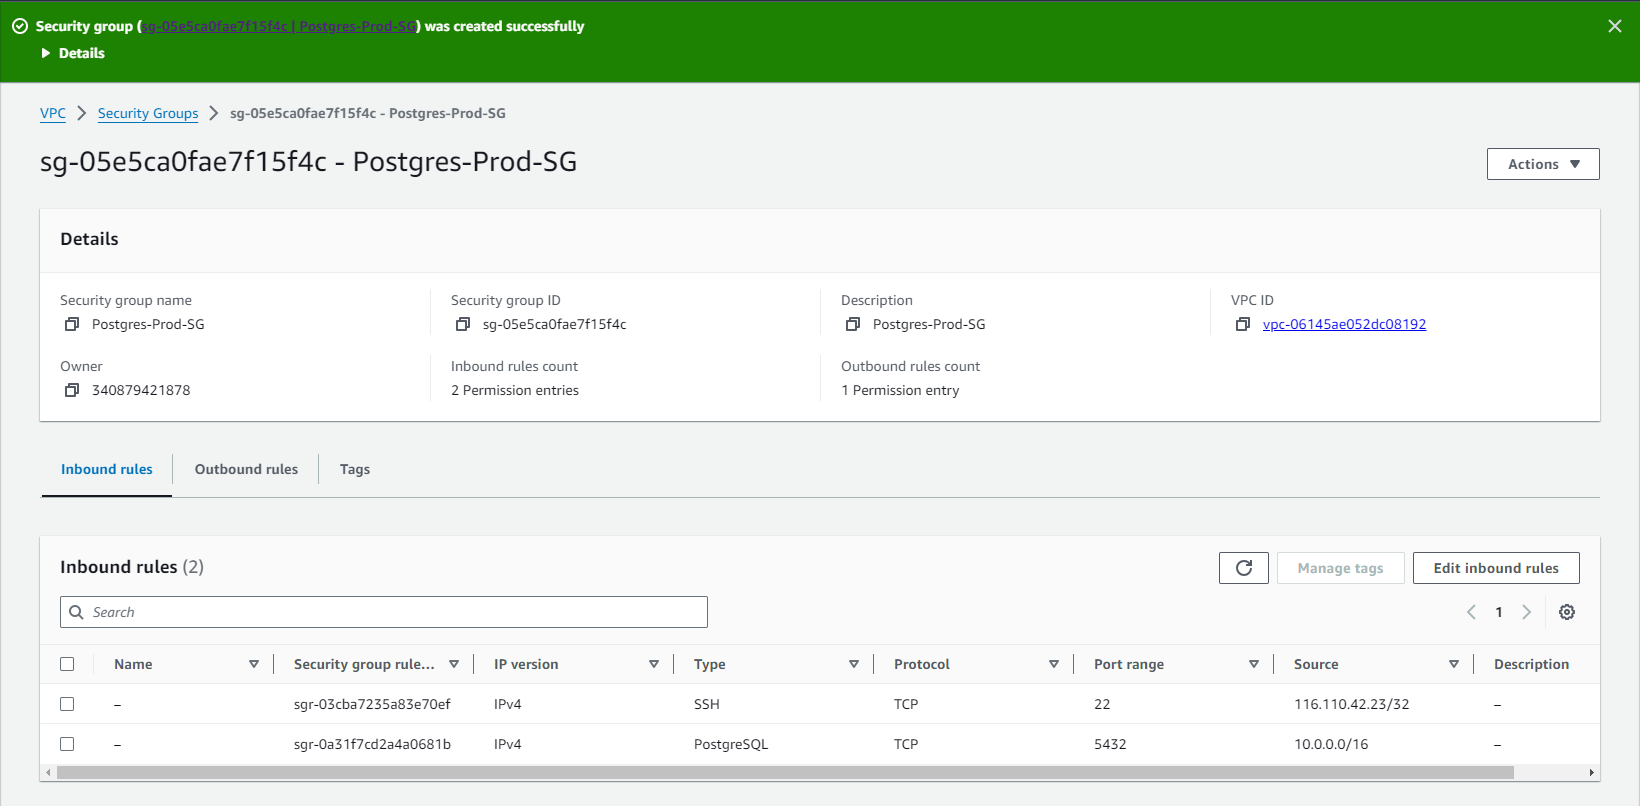
| Create Security Group | - Create a Security Group in AWS. |
| Configure for SSH | - Open port 22 for SSH. |
| - Specify the IP address or range allowed to access. | |
| Configure for Postgres | - Open port 5432 for Postgres. |
| - Specify the IP address or range allowed to access Postgres. |
-
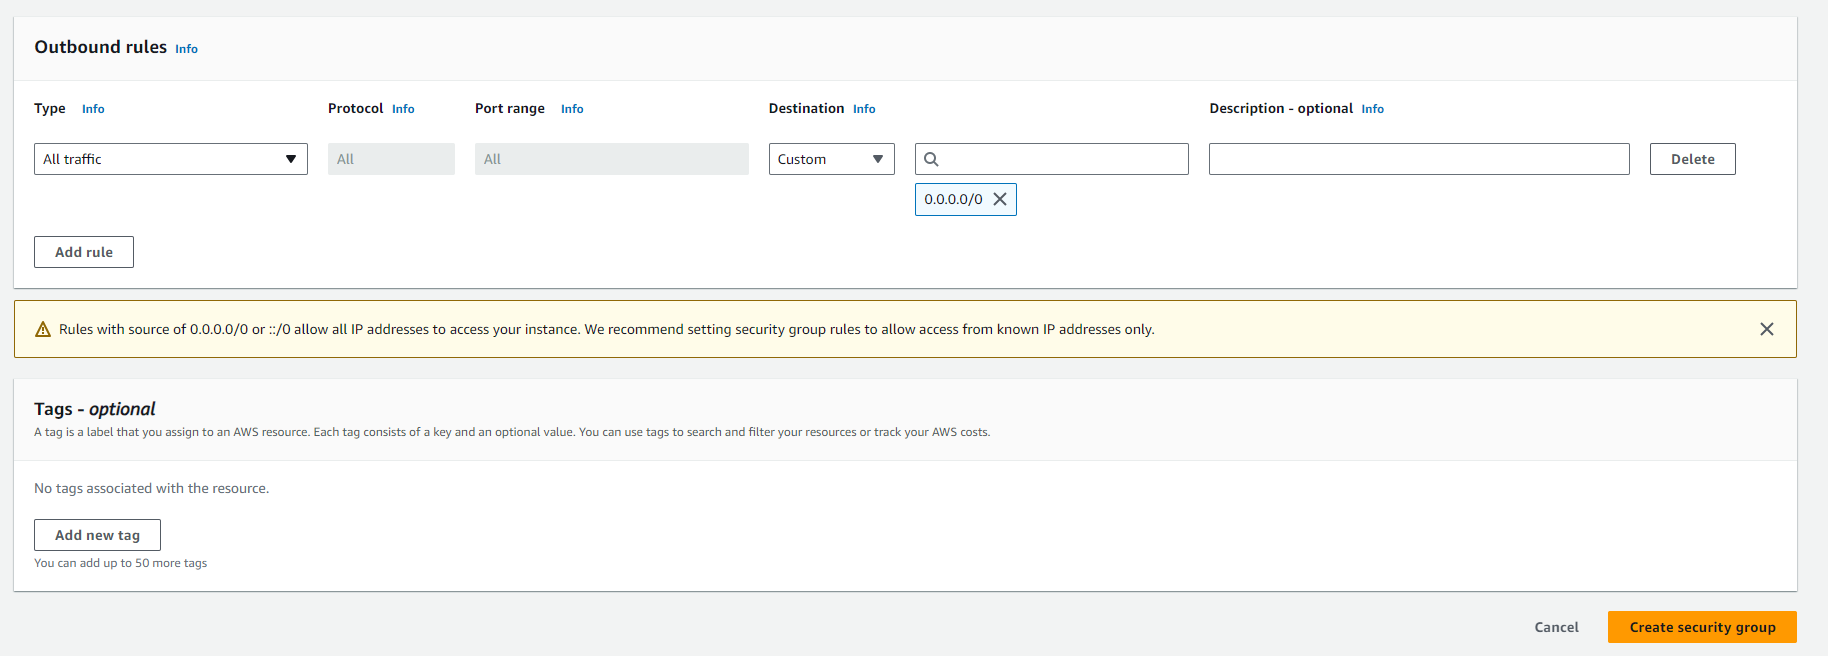
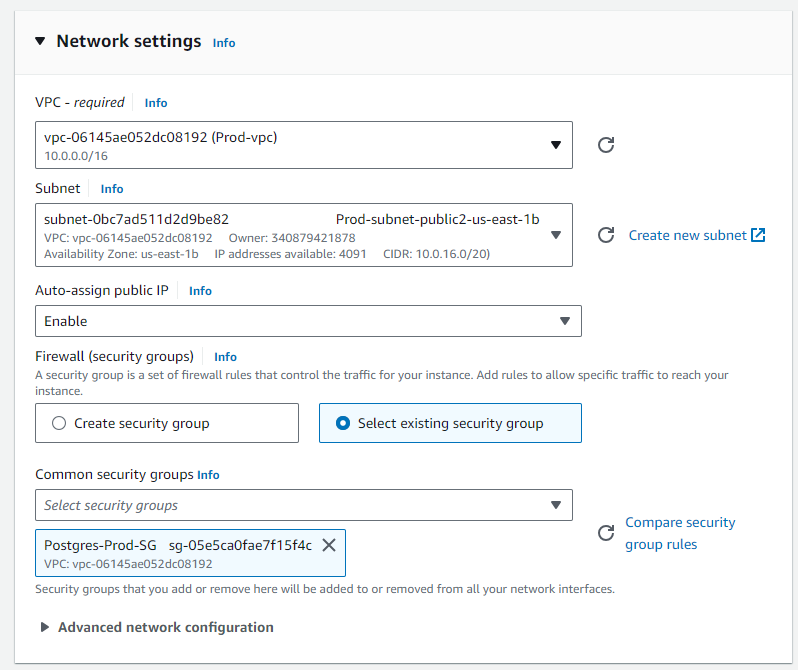
Network Settings:
- Click Edit next to Network settings.
- For Security group name, you may use a preselected group or choose a security group you created earlier.
-
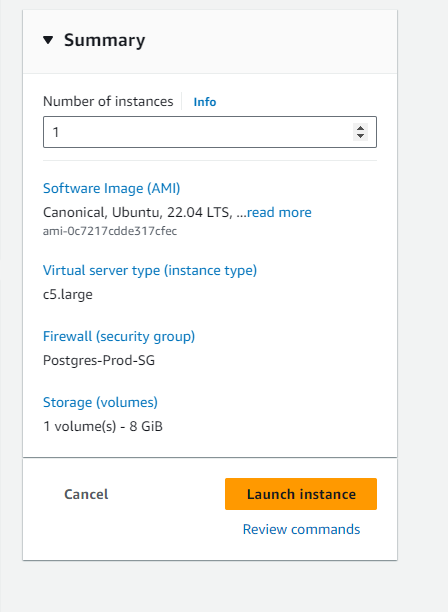
Review and Launch:
- Review your settings in the summary table.
- Press Launch instance once you are satisfied with the configuration.
-
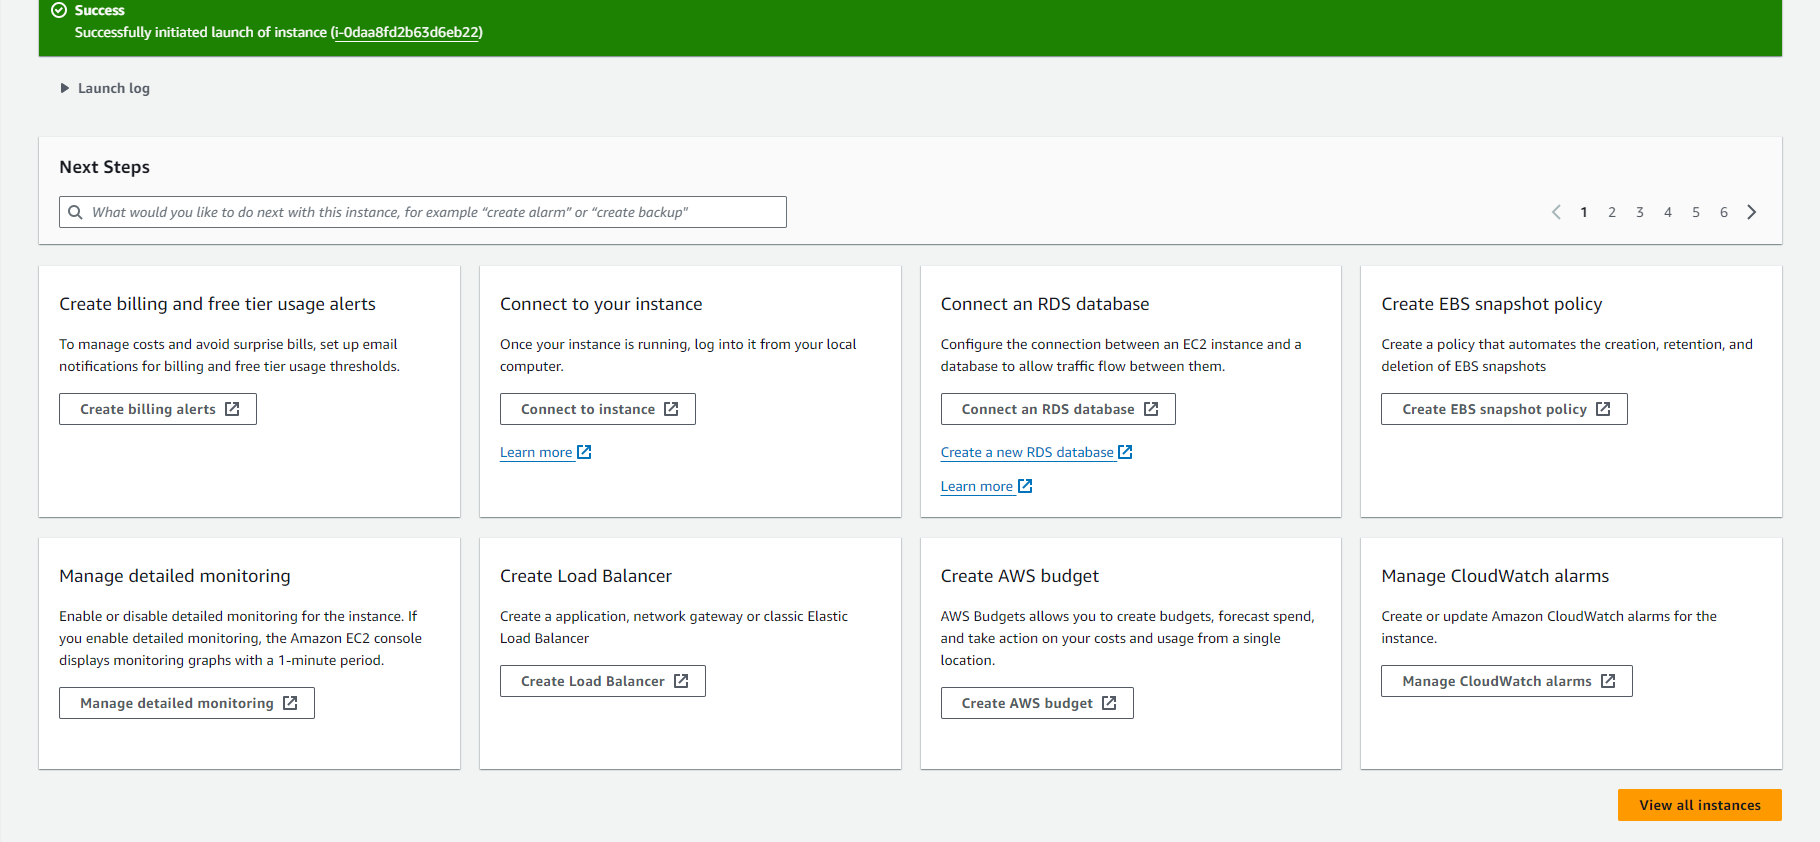
Post-Launch Steps:
- After launching, you will be directed to the confirmation page.
- On the Instances screen, monitor the status of your new instance.