Installing PostgreSQL
Installing PostgreSQL
PostgreSQL 16 is a major release of the open source relational database system, notable for new features and improvements. These improvements include better monitoring, enhanced performance, logical replication, new server configurations, and security updates.
-
Update package index:
sudo apt update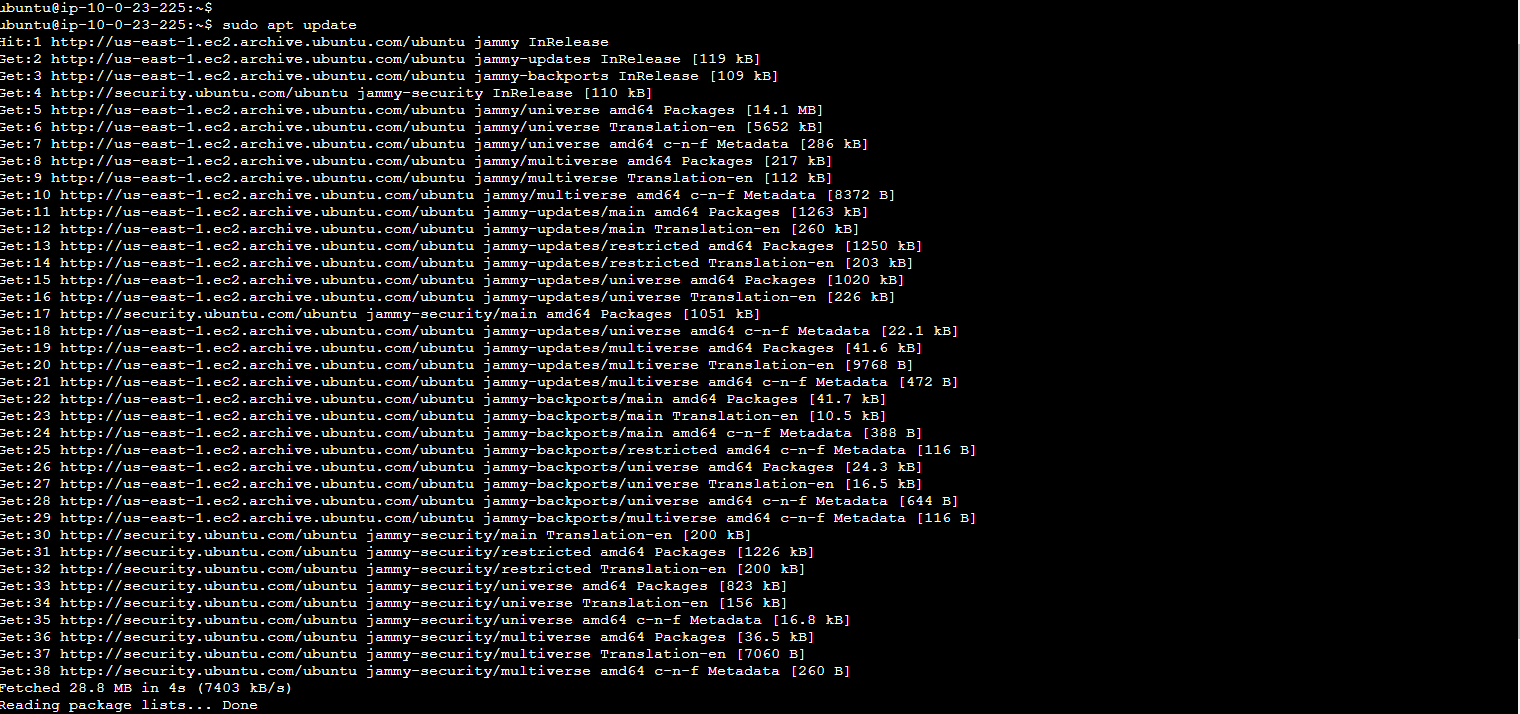
-
Install necessary packages:
sudo apt install gnupg2 wget vim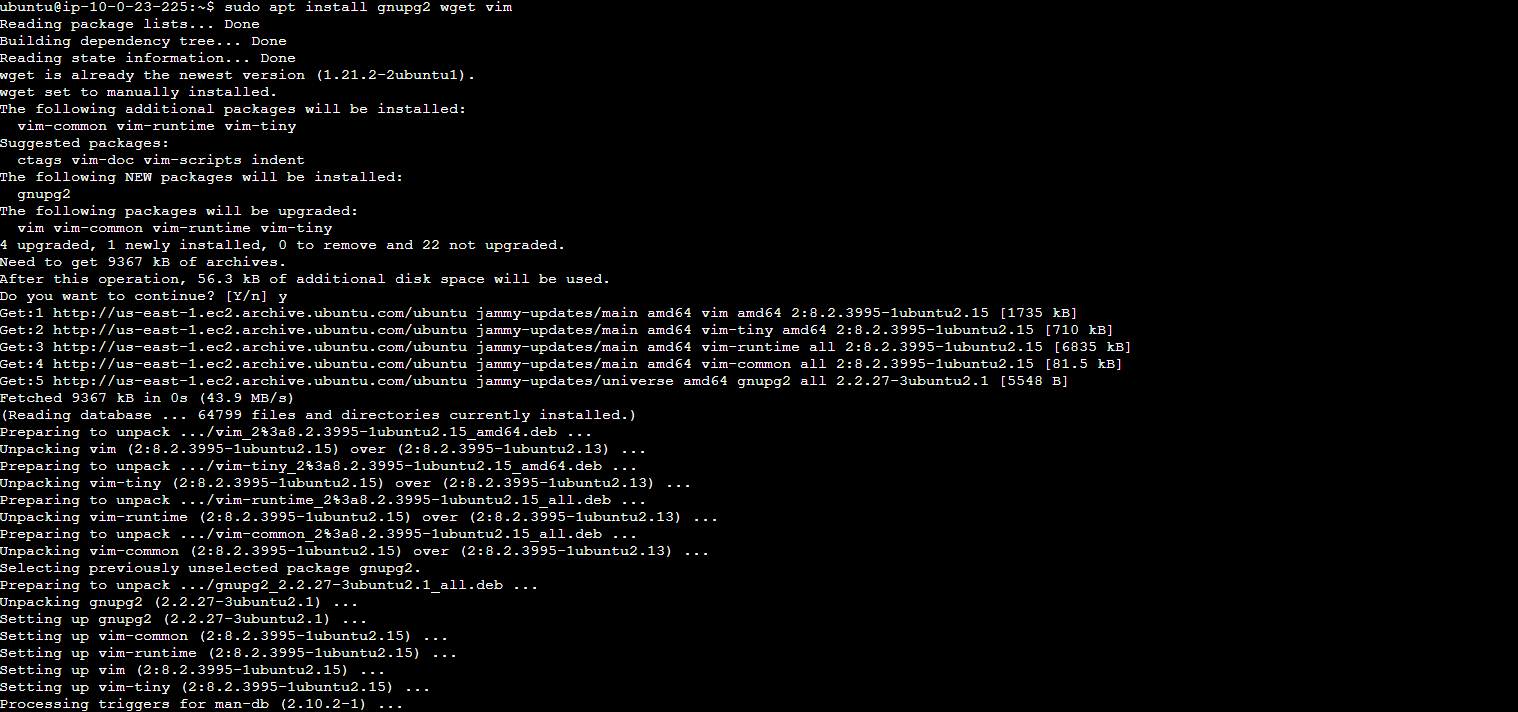
-
Add the PostgreSQL 16 repository:
sudo sh -c 'echo "deb http://apt.postgresql.org/pub/repos/apt $(lsb_release -cs)-pgdg main" > /etc/apt/sources.list.d/pgdg.list'
-
Import the repository signing key:
curl -fsSL https://www.postgresql.org/media/keys/ACCC4CF8.asc | sudo gpg --dearmor -o /etc/apt/trusted.gpg.d/postgresql.gpg -
Update package list again:
sudo apt update -
Install PostgreSQL 16:
sudo apt install postgresql-16 postgresql-contrib-16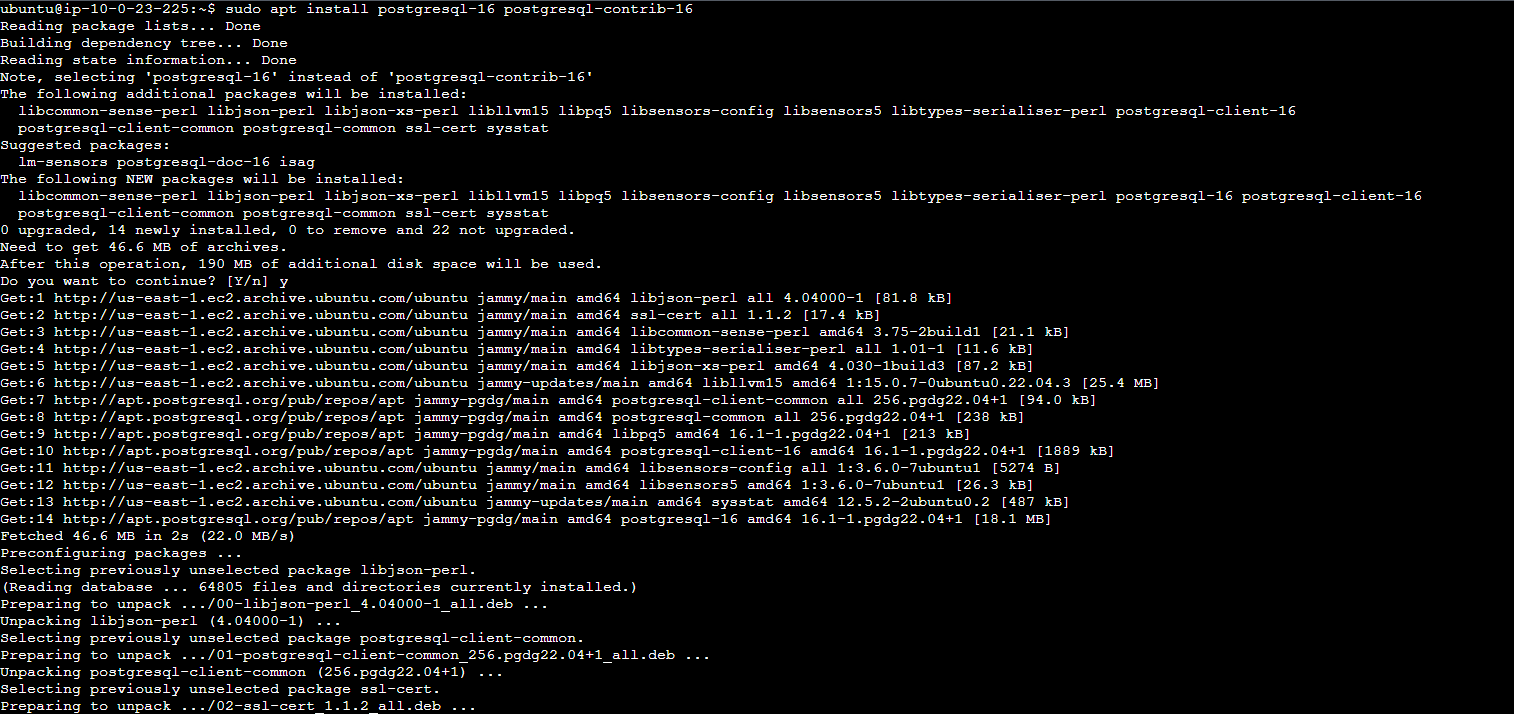
-
Start and enable the PostgreSQL service:
sudo systemctl start postgresql
sudo systemctl enable postgresql -
Verify installation:
psql –version -
The result should be similar to
psql (PostgreSQL) 16.0 (Ubuntu 16.0-1.pgdg22.04+1).
-
Configure PostgreSQL 16.
-
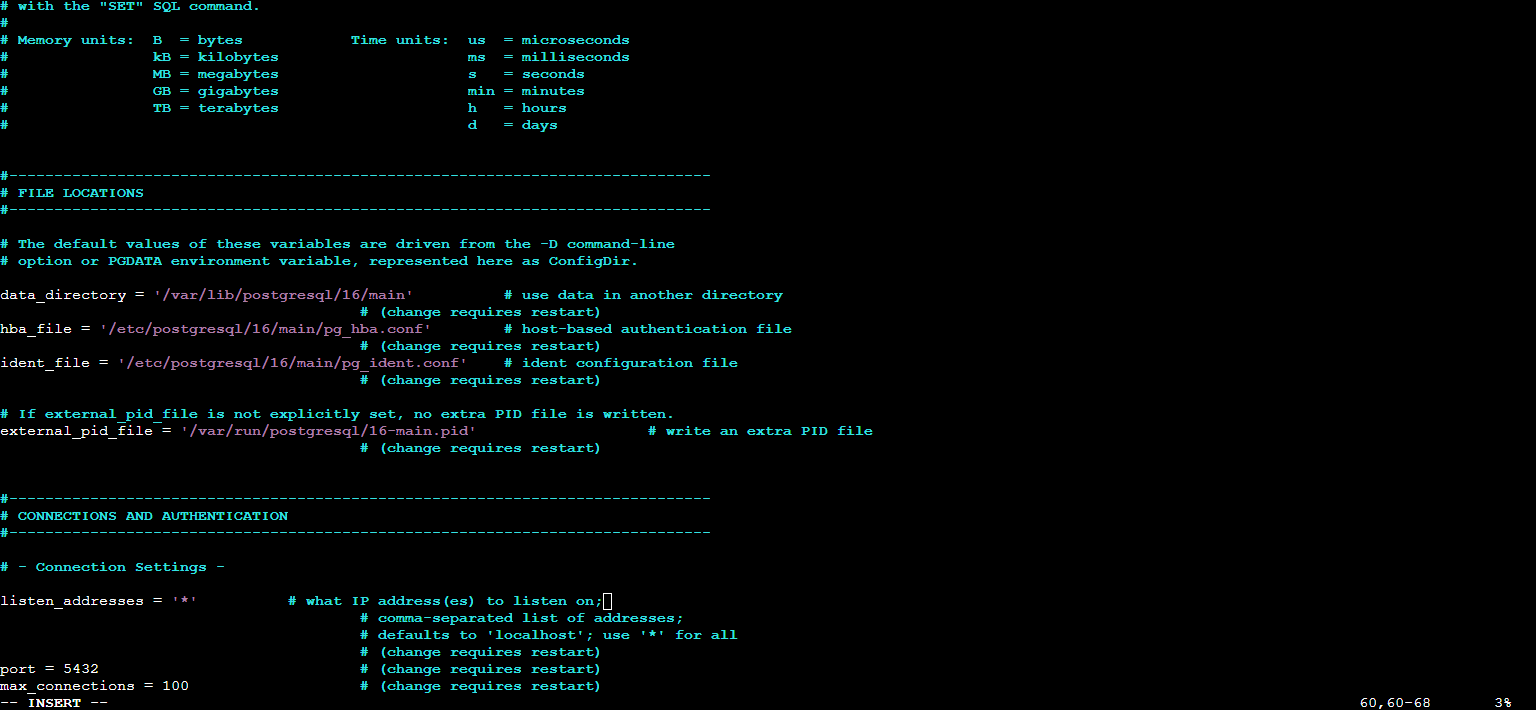
Enable remote connections by editing postgresql.conf:
sudo nano /etc/postgresql/16/main/postgresql.conf -
Change listen_addresses to
*.
-
Configure md5 password authentication in pg_hba.conf for remote connections:
sudo sed -i '/^host/s/ident/md5/' /etc/postgresql/16/main/pg_hba.conf
sudo sed -i '/^local/s/peer/trust/' /etc/postgresql/16/main/pg_hba.conf
echo "host all all 0.0.0.0/0 md5" | sudo tee -a /etc/postgresql/16/main/pg_hba.conf
-
Restart PostgreSQL to apply changes:
sudo systemctl restart postgresql -
Allow PostgreSQL port through firewall:
sudo ufw allow 5432/tcp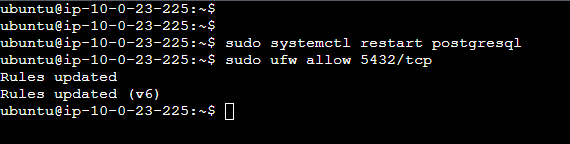
-
Connect to PostgreSQL:
sudo -u postgres psql -
Set password for postgres user:
ALTER USER postgres PASSWORD 'VeryStronGPassWord@1414;'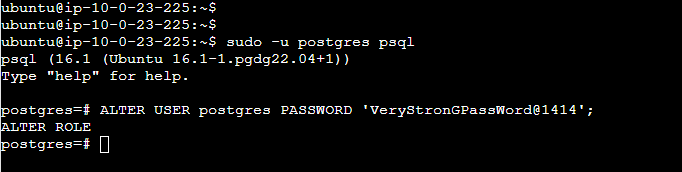
-
Create and Populate New Database in PostgreSQL.
-
Once successfully connected to the PostgreSQL database server using the psql command-line tool, you’re ready to begin creating databases and tables. Below, you’ll find detailed instructions on how to create a new database, add a table to it, and insert data into the table.
-
Create Database: To create a new database named test_erp, execute:
CREATE DATABASE test_erp; -
Connect to Database: To switch to the newly created test_erp database, use:
\c test_erp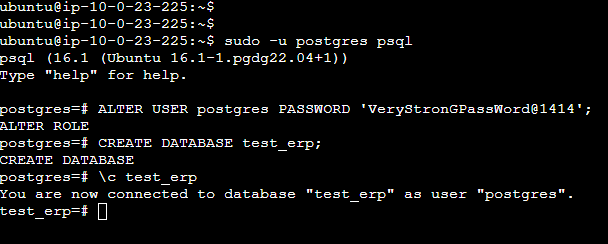
-
Create a Table with Primary Key and Attributes: Now, create a table named clients with a primary key and three attributes. Execute:
CREATE TABLE clients (
id SERIAL PRIMARY KEY,
first_name VARCHAR,
last_name VARCHAR,
role VARCHAR
);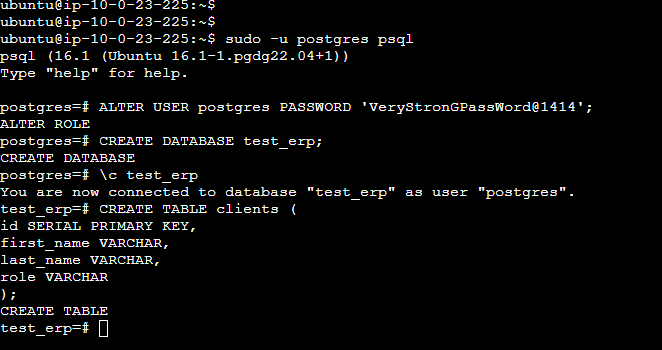
-
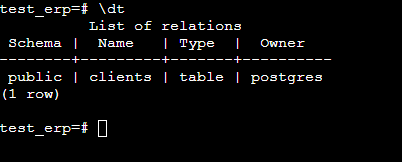
Verify Table Creation: To confirm that your new table has been created, type:
\dt -
This command lists the tables in your current database.
-
Insert Data into Table.
-
Insert a Row: Insert the first row into your clients table. For example, add a client named John Smith with the role of CEO:
INSERT INTO clients (first_name, last_name, role) VALUES ('John', 'Smith', 'CEO'); -
Query Table
-
Retrieve Data: To view the contents of the clients table, execute:
SELECT * FROM clients; -
This command lists all rows in the clients table, where you can now see the entry for John Smith.
