Creating a Test EC2 Instance
Creating a Test EC2 Instance
-
Open Amazon EC2 Console:
- Access the Amazon EC2 console at https://console.aws.amazon.com/ec2/.
-
Start the Launch Process:
- From the EC2 dashboard, find the Launch instance box and select Launch instance.
-
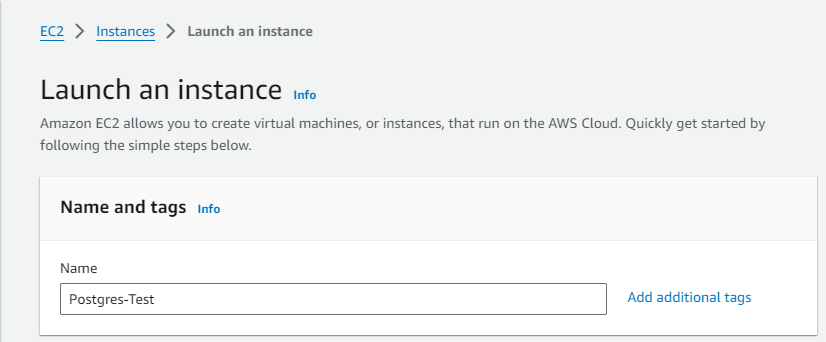
Specify Name and Tags:
- Under Name and tags, enter a descriptive name for your instance.
-
Select Amazon Machine Image (AMI):
- Under Application and OS Images, go to Quick Start and select Ubuntu.
- From the AMI options: Ubuntu

-
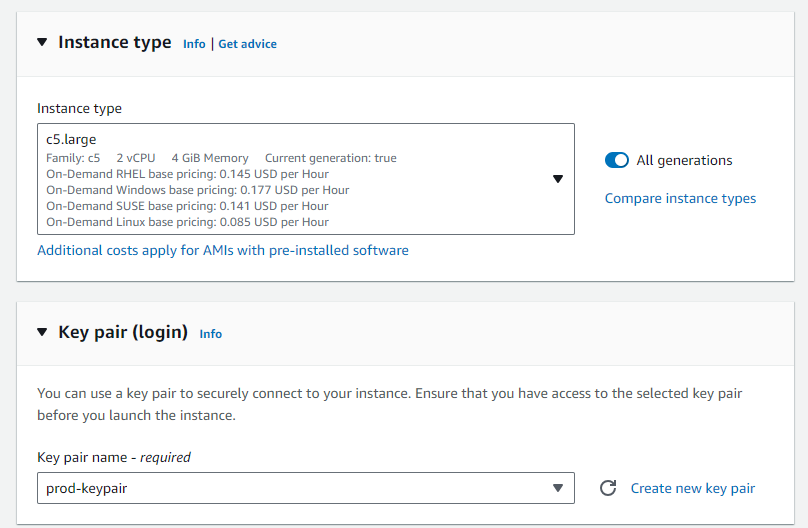
Choose Instance Type:
- Under Instance type, select c5.large for a more powerful configuration suitable for production environments.
-
Configure Key Pair:
- In Key pair (login), select a key pair you previously created.
- Warning: Avoid selecting Proceed without a key pair.
-
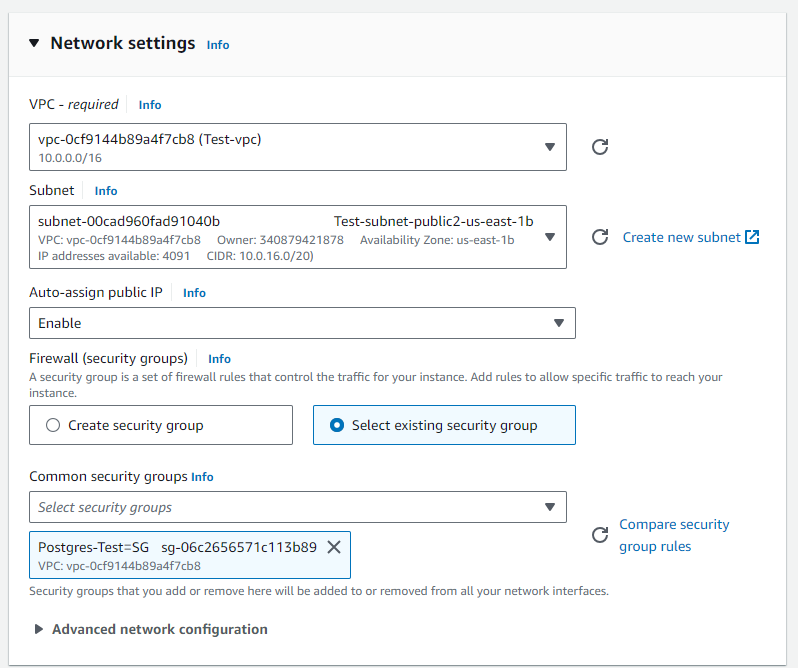
Set Up Networking:
- Click Edit next to Network settings.
- Choose from the list of security groups.
-
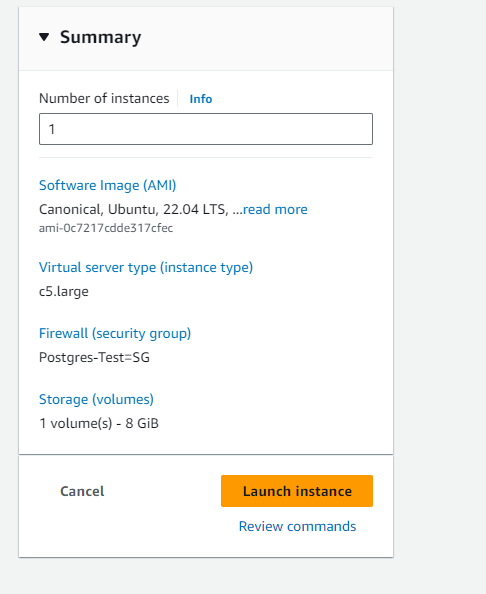
Review and Launch:
- Review your settings and click Launch instance.
-
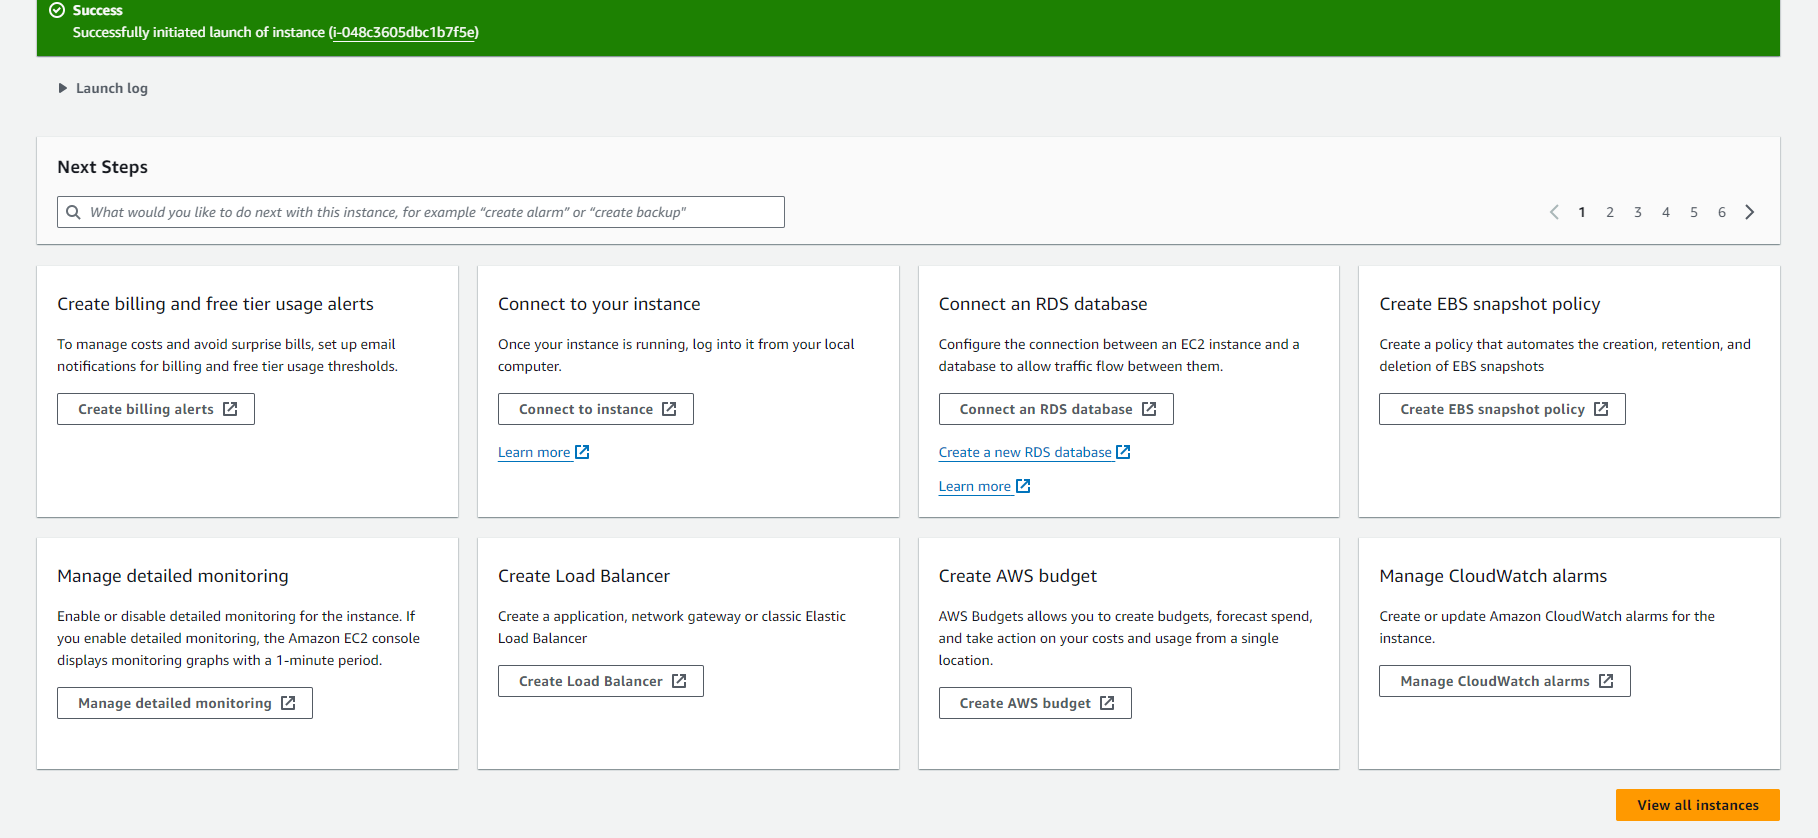
Post-Launch Steps:
- Monitor the status of your new instance.
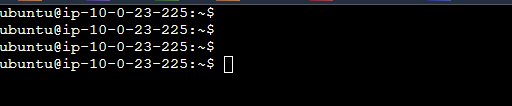
Connecting to EC2
To connect to your instance using a browser-based client from the Amazon EC2 console:
-
Open the Amazon EC2 console.
-
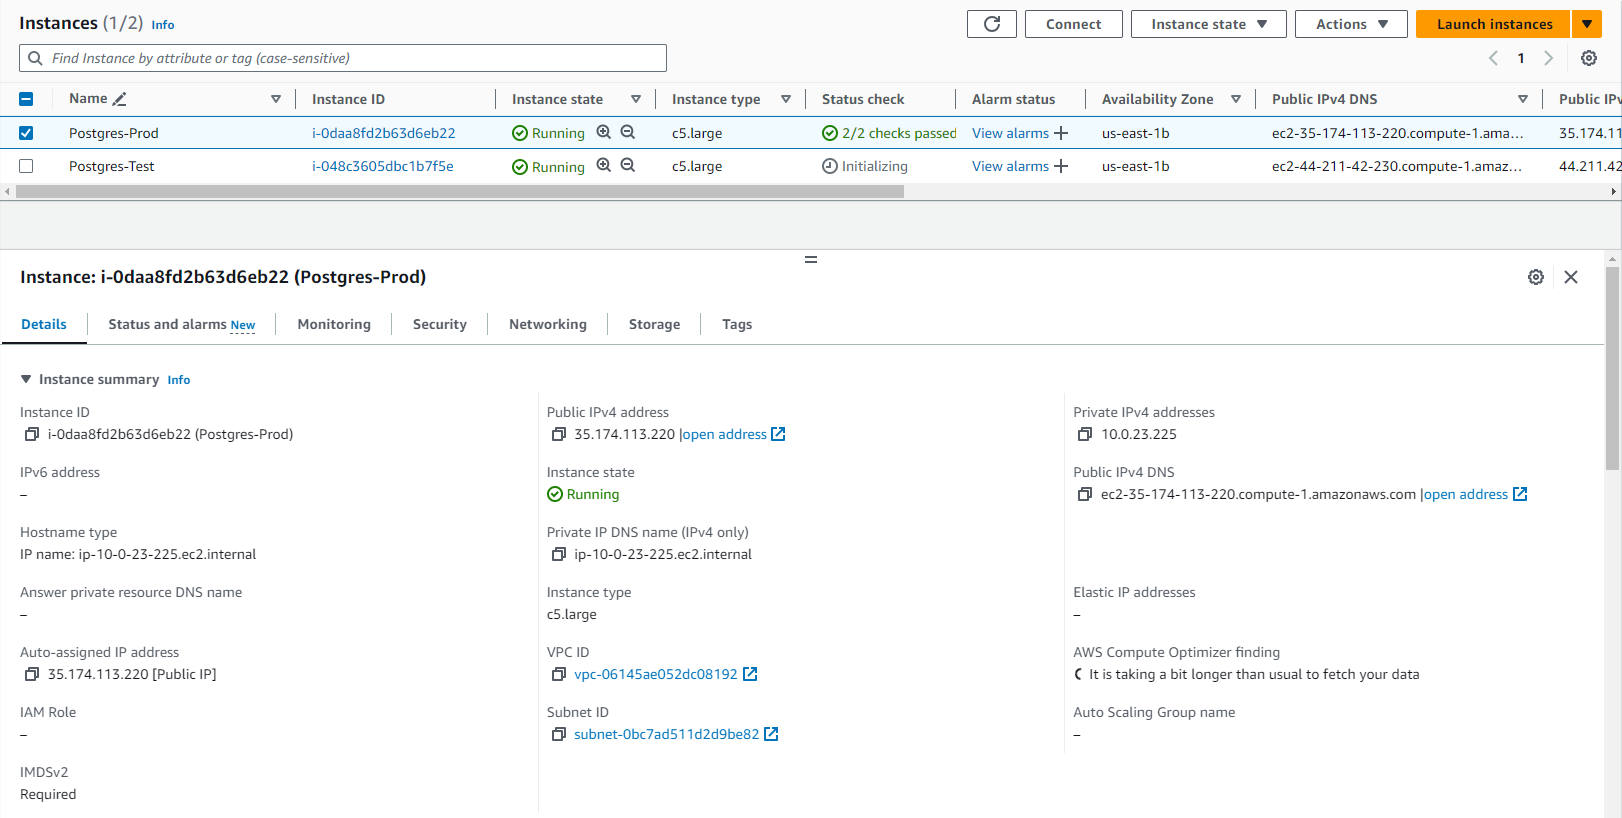
Select Instances.
-
Choose your instance and select Connect.
-
Choose EC2 Instance Connect.
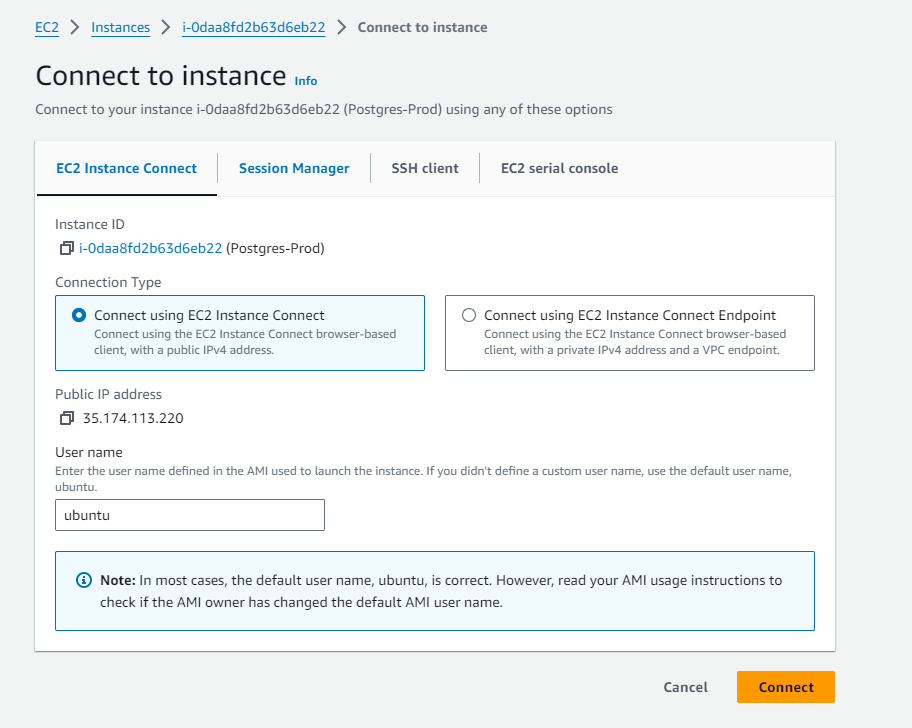
-
Verify the username and select Connect.